
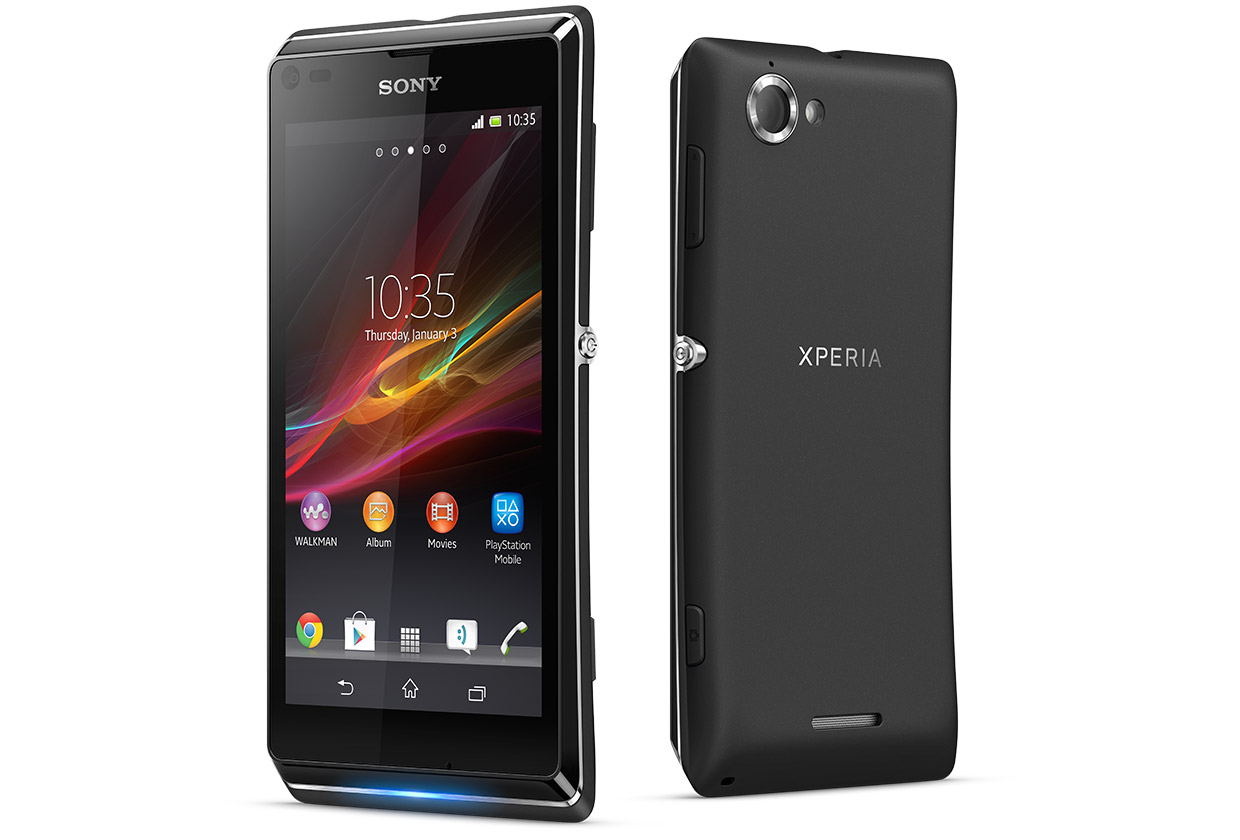
Xperia L is launched by Sony in 2013 and the device features a 4.3 inch TFT capacitive touch screen display with 480×854 pixels resolution. it is powered by 1 GHz Dual Core Qualcomm processor coupled with 1GB RAM and 8GB onboard storage.
The device runs on Android 4.1 Jelly Bean out-of-the-box, and is upgradable to Android 4.2.2 Jelly Bean firmware. The device hasn’t received any major updates after the Android 4.2.2 Jelly Bean update and is not going to receive any further updates as stated by Sony. So all the users of Xperia L C2104, C2105 should depend on Custom ROM’s to update Xperia L C2104, C2105 to Android 4.4.2 Kitkat firmware.
How to Update Xperia L C2104, C2105 to Android 4.4.2 Kitkat
1. Download ROM and Google apps package from below download section.
2. Extract the rom and obtain boot.img file and copy it to Fastboot folder.
3. Copy the whole ROM package and Google Apps Package to your device’s SD card.
4. Power off your device. Now open the Fastboot folder on your PC and press and hold Shift key and right click any where inside the Fastboot folder at the empty space and from the options choose open command window here.
5. Boot into Fastboot Mode. To do so, press and hold Volume Up key and connect your device to PC, a blue LED light will blink indication that your device is in Fastboot Mode. Now in CMD type: Fastboot flash boot boot.img and press enter. This will flash the boot.img file to your device.
6. Once done, type: fastboot reboot and press enter. Now while your device boots up, press the Volume Up button to enter into Recovery Mode. Once you are in Recovery Mode, perform operations to clear cache, dalvik cache and data. Now select “Install zip from SD card” and choose the ROM package, which you have copied earlier and install it.
7. Now again follow the above step, but this time choose the Google Apps Package and Install it. Now again perform full data reset and clear cache and dalvik cache.
8. GO back and reboot your device into system mode.
Downloads:
After download check here to update the smartphone.

