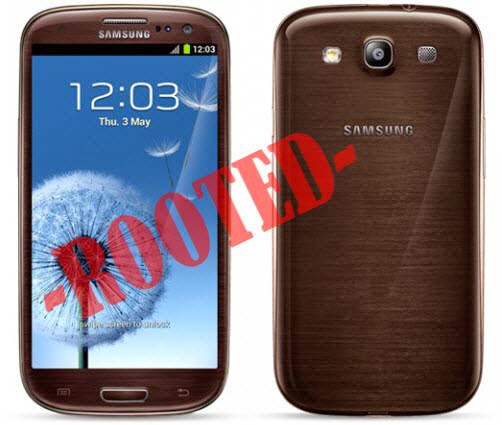
Galaxy S3 can now be rooted using simple and easy to follow procedure. Rooting an Android device allows you to install Custom ROM, Custom Kernels etc. on your device. After rooting your device you will also be able to use Root only apps, Flash the System Tweaks to speed up your device, etc. to know more about what are the advantages of Rooting in Android then go here.
This process of rooting is supported by the following Galaxy S3 models:
- I9300
- I9305
- I9300T
- I9305T
- I9305N
Before proceeding to Root Galaxy S3, let’s have a look at some of the pre requisites to follow to prepare your device for the Rooting process and also to avoid it from bricking.
Pre Requisites:
- Make sure your device model is listed in the above supported list of Galaxy S3.
- Make a complete backup of all of your data to a safe location to avoid any data loss. Though rooting won’t erase of the data it is safe to have a backup.
- Charge your device to at least 75%, to avoid it from turning off in between the Rooting process. As this may result in bricking of your device and leave it useless.
- Enable USB Debugging on your device from the path “Settings > Developer Options > USB Debugging”. If you were not able to find Developer Options under Settings, then you have to enable it by tapping on Build Number for about 5-10 times.
- Download and install then USB Drivers for your device on PC from here.
- Backup your mobile EFS Data. How? Follow here.
Disclaimer: We should not be held liable or responsible in any manner for any damage occurred to your Galaxy S3. So understand the risk involved and proceed further at your own risk.
Also Read: How to Install TWRP Recovery on Galaxy S3 I9300
How to Root Samsung Galaxy S3:
1. Download Odin software from here to your PC.
2. Download the Rooting package for your device from the below links:
3. Now open Odin on PC as administrator.
4. Power off Galaxy S3.
5. Enter into Download Mode, by pressing and holding Volume Down + Home + Power buttons until you see some text on screen. Now Press Galaxy S3 Volume Up to enter into Download Mode.
6. Once you are in Download Mode, connect your device to PC using original data cable.
7. Now you will see that the colour of ID:COM box will turn blue. You will also see “Added” message in Odin.
8. Now click on PDA or AP and select the Rooting package, which you have downloaded earlier.
9. Now make sure only F.Reset Time and Auto Reboot are ticked in Odin and remaining all options are unchecked.
10. Now click on Start, it will flash the Rooting Package on your device.
11. Once done it will reboot your device automatically.
12. Once the device boots up look for SuperSU app in the app drawer. Additionally you can confirm whether your device is rooted or not using Root Checker App.
That’s all now you have successfully installed Root Galaxy S3. Do let us know in the comment section if you face any issues while trying to Root Galaxy S3.
![Install CWM Recovery and Root AT&T Galaxy S4 SGH-I337 on Android 4.4.2 [How To]](http://www.gadgetsacademy.com/wp-content/themes/spike/images/relthumb-200x166.png)