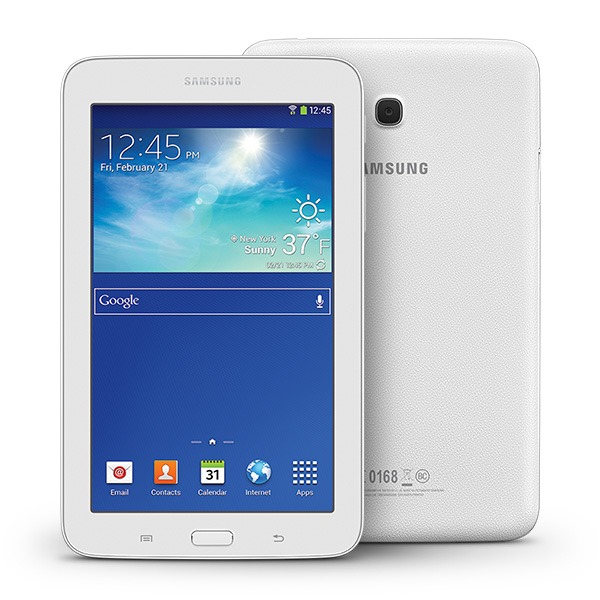
Galaxy Tab 3 Lite was announced as the low cost variant of Galaxy Tab 3 7.0 in January this year and the device features 7.0 inch TFT capacitive touch screen display with 600 x 1024 pixels resolution. It is powered by 1.2 GHz Dual Core processor coupled with 1GB RAM and 8 GB internal storage and runs on Android 4.2 Jelly Bean OS. So if you have this device and want to install CWM / TWRP Recovery on it and Root Galaxy Tab 3 Lite SM-T110/SM-T111, then follow the below procedure and successfully Root Galaxy Tab 3 Lite SM-T110/SM-T111.
 Pre-Requisites:
- Backup all of your data to a safe location or on your PC.
- Make sure to enable USB Debugging.
- Charge your device to at least 75%, so as to avoid Galaxy Tab 3 Lite from shutting down in between the update process.
- Backup your mobile EFS data from here.
- Download and install USB Drivers suitable for your device on PC from here.
- Make sure all the Samsung PC Suits like Kies are killed on your PC, while using Odin.
Disclaimer: We should not be held liable or responsible in any manner for any damage occurred to your Galaxy Tab 3 Lite for not following the instructions properly. So understand the risk involved and proceed at your risk.
Procedure to install CWM / TWRP Recovery on Galaxy Tab 3 Lite SM-T110/SM-T111:
Step 1: Download Odin Software on your PC from here.
Step 2: Download the CWM or TWRP Recovery from below to your PC.
[box type=”download”]
CWM Galaxy Tab 3 Lite SM-T110/SM-T111
TWRP Galaxy Tab 3 Lite SM-T110/SM-T111
[/box]
Step 3: Open Odin on your PC as administrator.
Step 4: Power off Galaxy Tab 3 Lite and enter into Download Mode by pressing “Volume Down + Home + Power button” simultaneously until you see warning message on your screen. Now press Volume Up as written in the warning message to enter into Download Mode.
Step 5: Connect Galaxy Tab 3 Lite to PC using original USB Data cable, while the device is still in Download Mode.
Step 6: Now you will see that the ID:COM box in Odin will turn blue and an “Added!!” message will appear in Odin.
Step 7: Now in Odin click on ‘PDA‘ or ‘AP‘ and select the Recovery image file which you have downloaded earlier.
Step 8:: Make sure only Auto reboot and F.Reset Time option are checked in Odin and remaining all options are un-checked.
Step 9: Once you are done with all the above listed steps, click on Start, this will start flashing the Recovery image on your device.
Step 10: Once done, your device will reboot automatically, wait for your device to boot up successfully. Keep in mind that the first boot may take up to 5-6 minutes, so please be patience.
Note: If at all your device gets into boot loop then you need to remove device’s battery and re-insert it or long press power button and then power on the device. If the problem still persists then you have to follow the above steps again.
Step 11: Once the device boots up, power it off and enter into Recovery Mode, by pressing Volume Up + Home + Power Button simultaneously.
Step 12: Now you should be booted in CWM / TWRP Recovery Mode based on which recovery you have installed.
As now you have CWM / TWRP Recovery installed on your Galaxy Tab 3 Lite SM-T110/SM-T111, you can proceed further and Root Galaxy Tab 3 Lite SM-T110/SM-T111.
How to Root Galaxy Tab 3 Lite SM-T110/SM-T111:
- Download the Rooting Package from here to your PC.
- Transfer it to your device’s SD card.
- Power off Galaxy Tab 3 Lite.
- Enter into Recovery Mode. To do so, press and hold Volume Up + Home + Power buttons simultaneously until you see some text on screen.
- Once you are in recovery mode select “Install Zip from SD card” and choose the Rooting Package and install it.
- Once installed, Go Back and select reboot system now.
- Once the device boots up, check for root permission using Root Checker App.