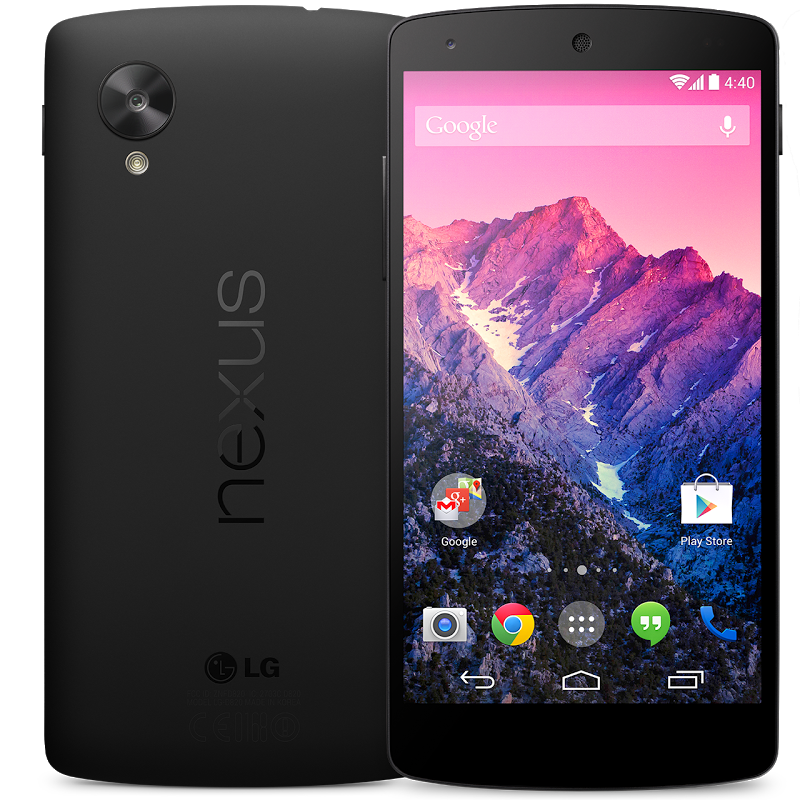
As the Android 5.0 Lollipop firmware update is rolled out to Motorola and Nexus devices, most of the Moto X, Moto G and Nexus device users have got smiles on their face and they are feeling happy to enjoy and experience the all the new material design of Android 5.0 Lollipop on their device. The updates are rolled out via OTA and reach your device at any moment. If you haven’t received any update till now for your Nexus 5 then just follow the guide here on how to manually update Nexus 5 to Android 5.0 Lollipop. Once you have done with the update process, the next thing every android enthusiast searches is on how to Root it, so for you we have brought a tutorial on How to Root Nexus 5 on Android 5.0 Lollipop firmware.
Once you have rooted your device you will be able to have total control over device and you can check the list of advantages and disadvantages of Rooting in Android here. With your rooted device you will be able to play with the apps which require root access, install Custom ROM’s, Kernels etc.
Before we proceed to install CWM Recovery and Root Nexus 5 on Android 5.0 Lollipop, we must follow some steps to prepare Nexus 5 for the installation and rooting process and also to avoid interruption between the procedures.
- Backup important data stored on your device like apps, messages, contacts, call logs etc. to a safe location.
- Enable USB Debugging on your device from Settings > Developer Options.
- Make sure your device is charge to at least 55%.
- Make sure your device is running on Android 5.0 Lollipop. If not go here.
- Install USB Drivers for your device on PC.
- Setup ADB and Fastboot drivers on PC.
- Unlock Bootloader.
Disclaimer: We should not be held liable or responsible in any manner for any damage occurred to Nexus 5. So understand the risk involved in rooting Nexus 5 and proceed further at your own risk.
Download:
[box type=”download” ]
CWM Recovery
[/box]
How to install CWM Recovery and Root Nexus 5 on Android 5.0 Lollipop LRX21O firmware:
- Download the firmware file and SuperSU.zip package on your PC.
- Copy the SuperSU.zip package to your device’s SD card.
- Extract the CWM Recovery image file to the Fastboot folder and make sure it is in .img format.
- Open the Fastboot folder and press and hold the shift key and right click anywhere inside the Fastboot folder and from the list select open command window here.
- Power off Nexus 5.
- Enter into Bootloader / Fastboot Mode, by pressing Volume Up + Volume Down + Power buttons at the same time until you see some text on screen.
- Connect Nexus 5 to PC.
- Now in CMD type: fastboot flash recovery recovery-clockwork-touch-6.0.4.5-hammerhead.img and press enter.
- This will flash the CWM Recovery image to your device.
- Once done disconnect it from PC, but don’t reboot your device.
- Now from Fastboot Mode, chose Recovery.
- Now you should be in CWM Recovery. Choose Install zip from SD card and install the SuperSU.zip package.
- Once done reboot your device.
- Once the device boots up, check Root Permissions using Root Checker App.