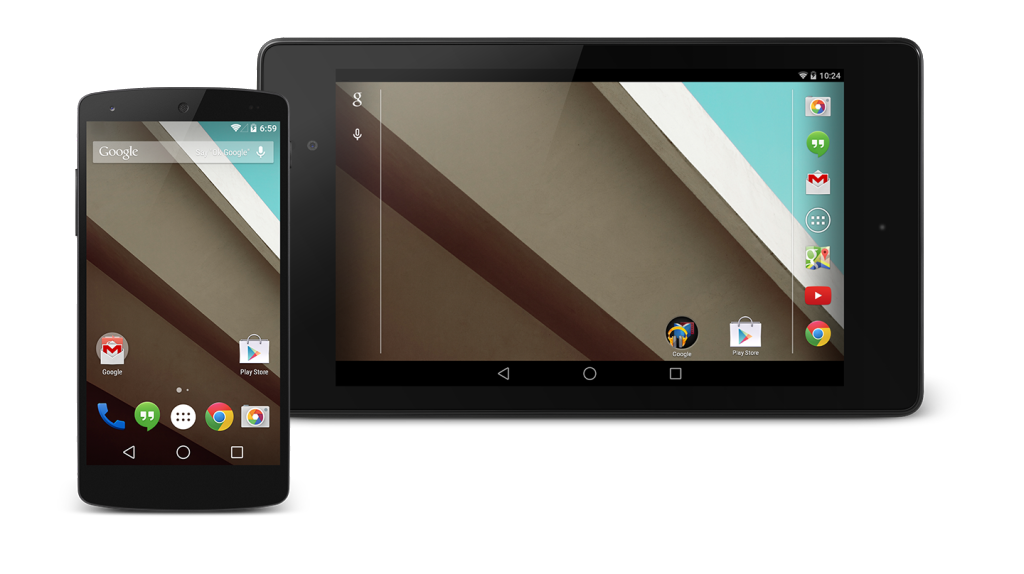
Google has released the Developer Preview of the Android L couple of week s ago at an event called Google I/O 2014 which was held at San Francisco. Google also released the Systems images for the Nexus 5 and Nexus 7 devices. As it was released for only Nexus 5 and Nexus 7 device many of the Nexus 4 users felt sad, but now there is nothing to worry, as the developers have managed to port the Android L Developer Preview to nexus 4. So in this guide we are going to install the Android L on Nexus 4.
As the Android L is still in Developer Preview or in Beta state, it may contain so many bugs. As it is ported from the Stock Android L system dump this ported Android L may also contain the bugs which were present on the Stock Android L. If you still want to continue and install it on your Nexus 4, then you can follow the below procedure and successfully install Android L on Nexus 4.
Pre Requisites:
- Backup all of your data to a safe location, as we are going to install the Android L, which will erase all of your data.
- Charge your device to at least 75%, to avoid it from turning off in between the installation process.
- Enable USB Debugging on your device form the path “Settings > Developer Options > USB Debugging”.
- Install the TWRP Custom Recovery on your device from here.
Disclaimer: We the members of the Gadgets Academy should not be held liable or responsible in any manner for any damage occurred to your Nexus 4. So understand the risk involved and proceed further.
How to Install Android L on Nexus 4 E960:
Download the Android L Package from here to your PC. Connect your device to PC and copy the Android L Package to the root of your device’s SD card. Power off Nexus 4. Press Volume Up + Volume Down + Power button until you see start screen. Now from the list, highlight and select “Recovery” using Volume keys and power button. Now you will be in TWRP Recovery. Do a factory data reset and format the system.
Now wipe cache partition and dalvik cache. Next tap on Install and choose the Android L package and install it. Once installed, wipe cache and dalvik cache again. Now tap on Reboot, to reboot your device into normal mode. The first boot may take up to 5-10 min, so please be patience and wait for it to boot up successfully


